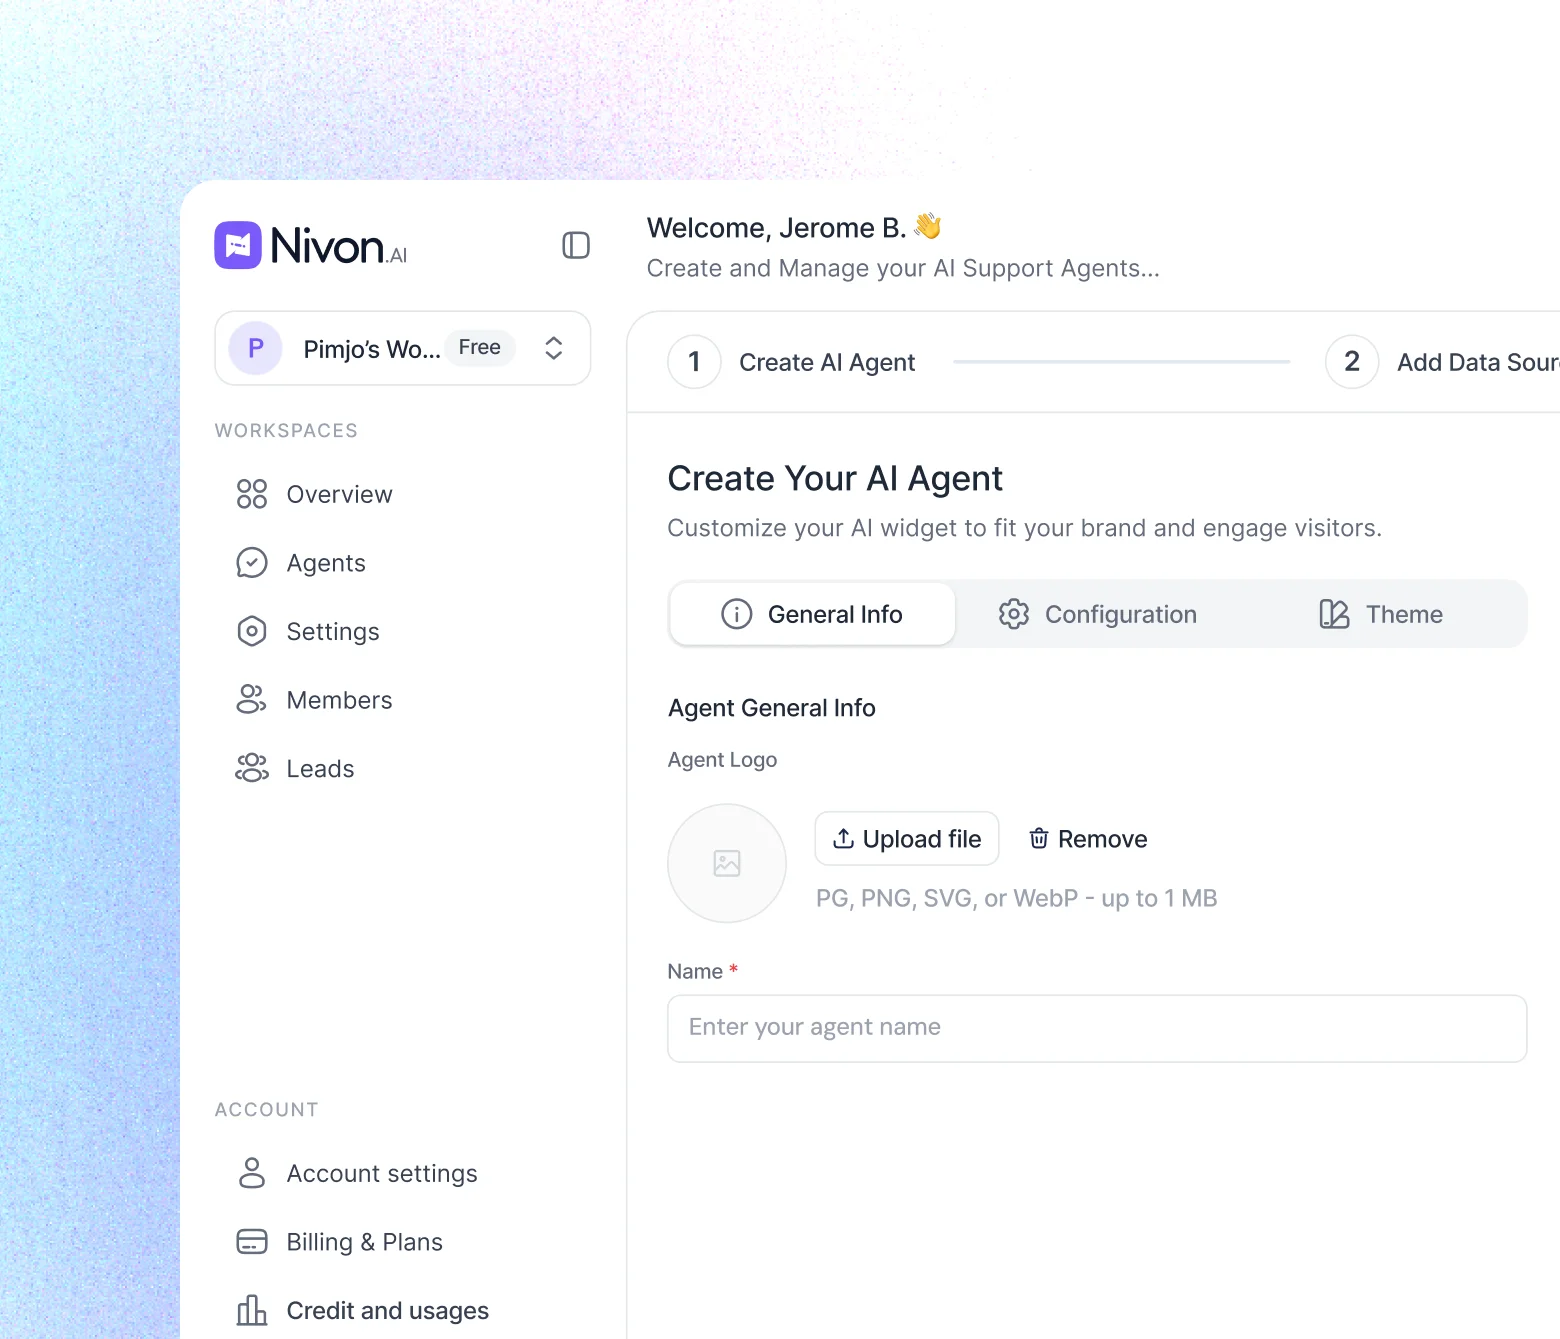
Framer AI Chatbot
Install the official Nivon plugin from the Framer Marketplace, connect your chatbot, and publish. The chat widget loads on every page of your site.

What you can do
Official Framer plugin
Install Nivon from the Framer Marketplace and connect your chatbot from inside Framer.
No code to paste
Log in, pick a chatbot and publish. The plugin adds the widget for you.
Every page, CMS included
The widget shows up across your whole Framer site, CMS collection pages too.
Settings stay in Nivon
Change the model, tone, appearance or knowledge in Nivon without opening the plugin again.
Install on Framer in three steps
You need a Nivon chatbot and a Framer site on a plan that supports custom code.
Install the plugin and log in
Open the Nivon plugin from the Framer Marketplace, click Login, and approve the matching code in Nivon.
Connect your chatbot
Pick your workspace and chatbot in the plugin, then click Connect Chatbot.
Publish your site
Publish in Framer and the chat widget goes live on every page.
FAQs
A Framer AI chatbot from Nivon answers your visitors using your own pages, docs and files. Install the official Nivon plugin from the Framer Marketplace, pick your chatbot, and publish. The chat widget then shows up on every page of your site, CMS pages included.
How do I add Nivon to a Framer site?
Before you begin
- A Nivon account with a chatbot that's set up and ready to answer questions.
- A Framer site you can edit, on a plan that supports custom code. If Custom Code is greyed out in Site Settings, upgrade the site first.
Step 1: Install the Nivon plugin in Framer
Go to Nivon - AI support Chatbot on the Framer Marketplace and click Open Plugin. Open it in the Framer project where you want the chatbot.
In the plugin, click Login. Framer shows a short code and opens a new browser tab so you can approve the connection.
Step 2: Approve the connection in Nivon
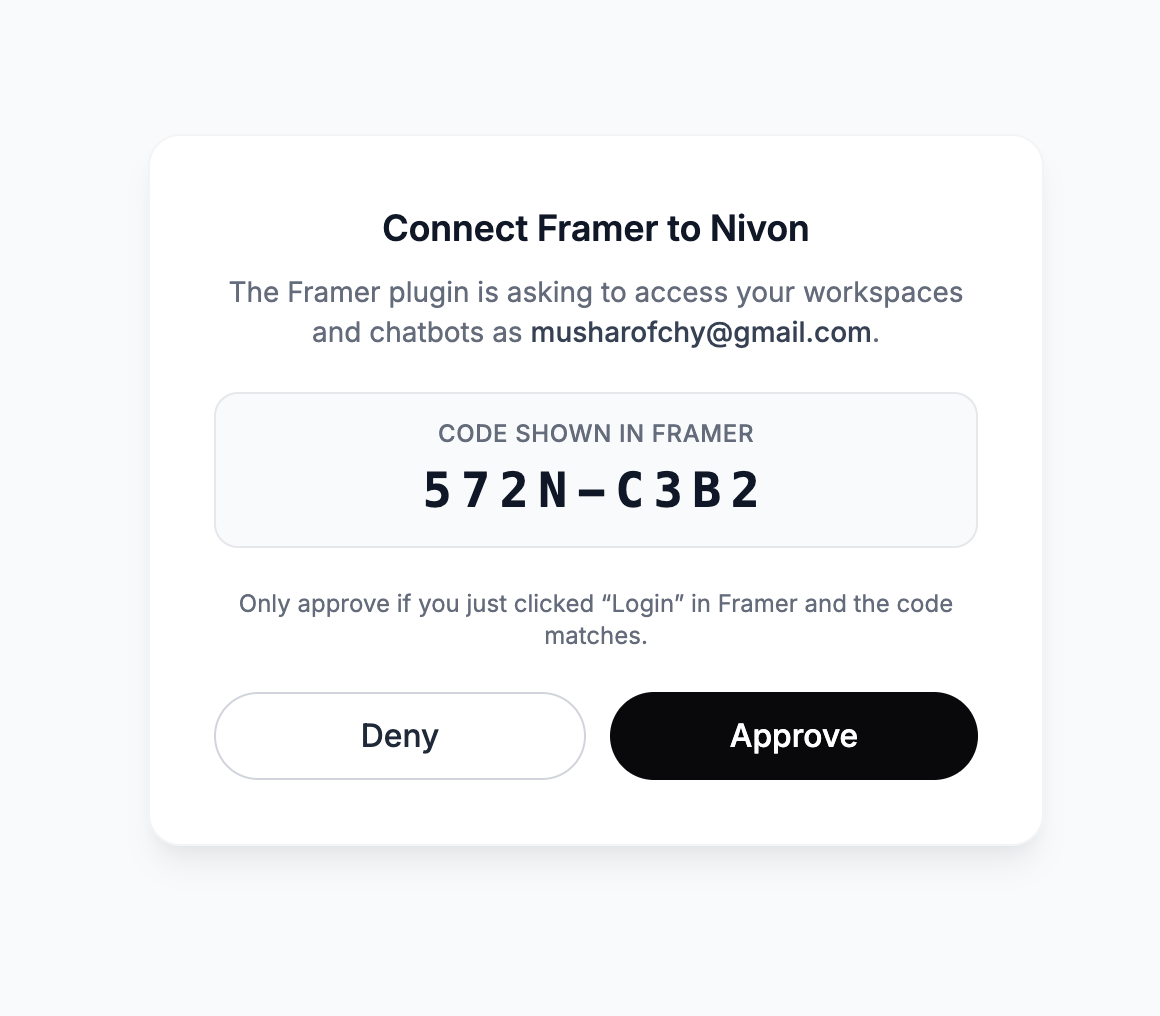
The new tab shows Connect Framer to Nivon, along with the email of the Nivon account you're signed in to. If Nivon asks you to sign in, do that first.
Check that the code in the tab matches the code in Framer, then click Approve. If the codes don't match, or you didn't just click Login, click Deny.
Step 3: Go back to Framer
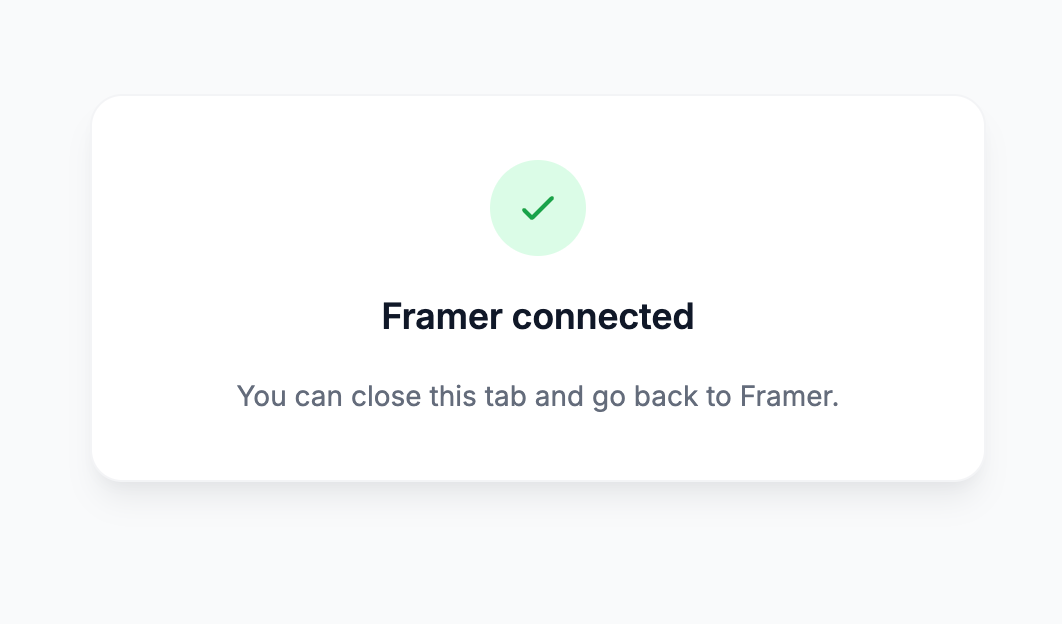
You'll see Framer connected. Close the tab and go back to your Framer project.
Step 4: Select your chatbot
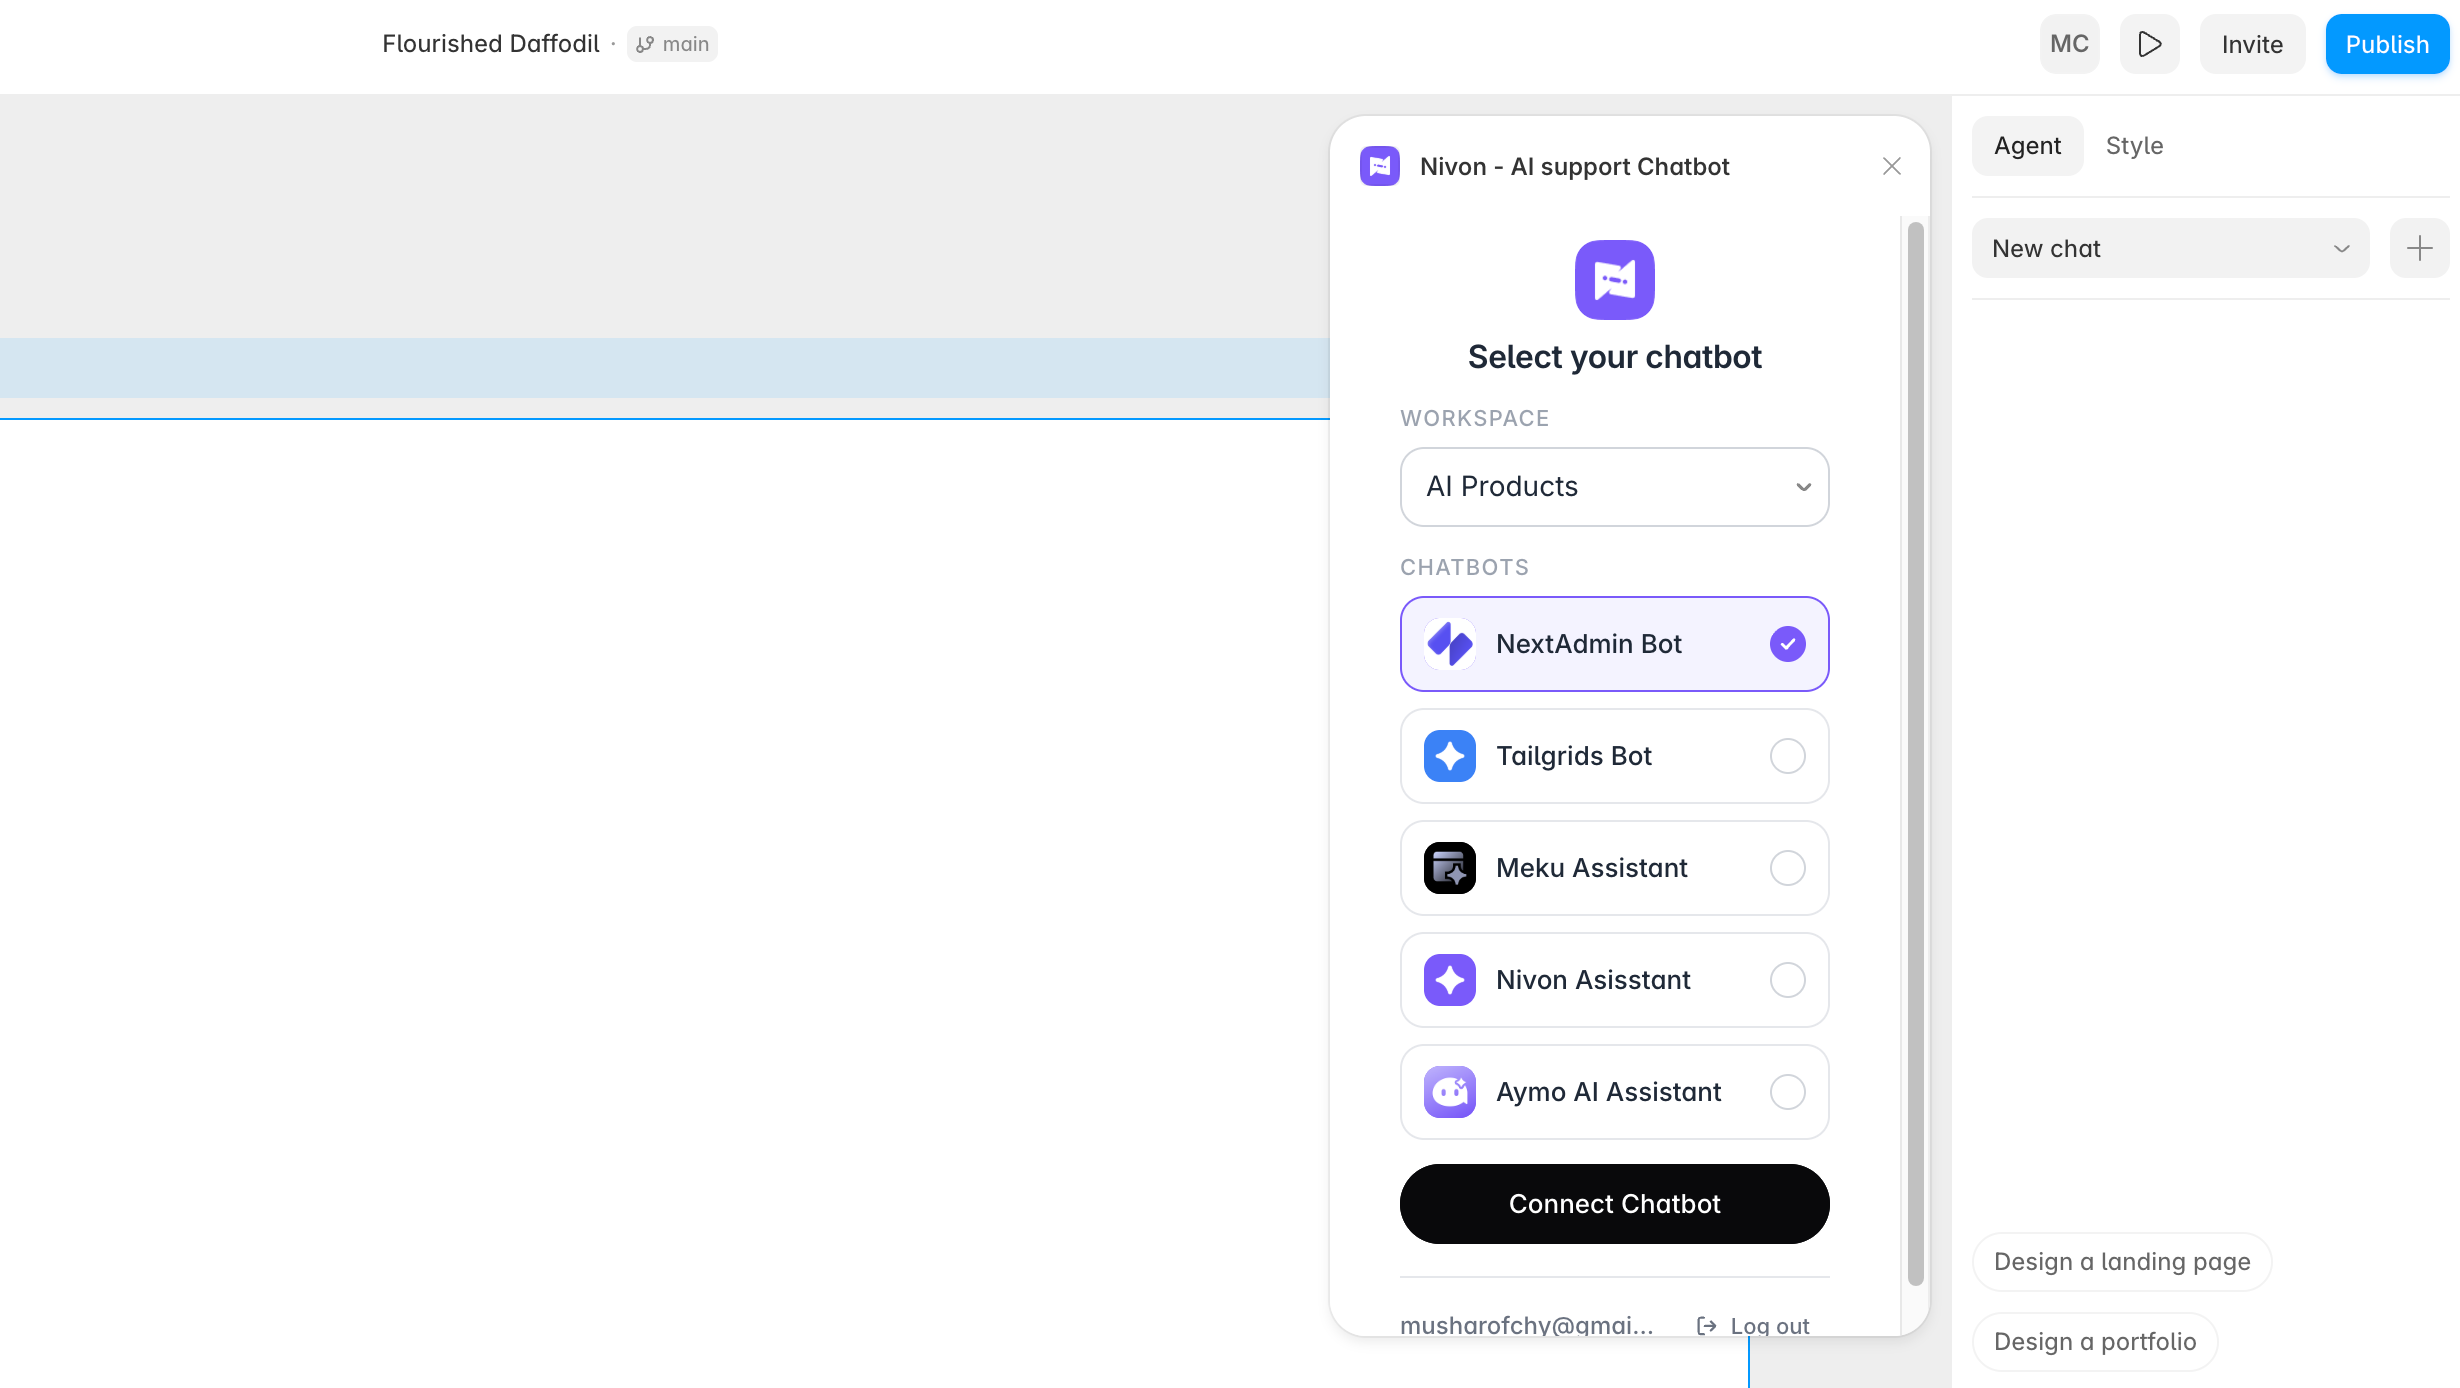
- Under Workspace, choose the workspace your chatbot belongs to.
- Under Chatbots, select the chatbot you want on this site.
- Click Connect Chatbot.
The email at the bottom of the plugin shows which Nivon account you're using. Click Log out if you need to switch accounts.
Step 5: Publish your site
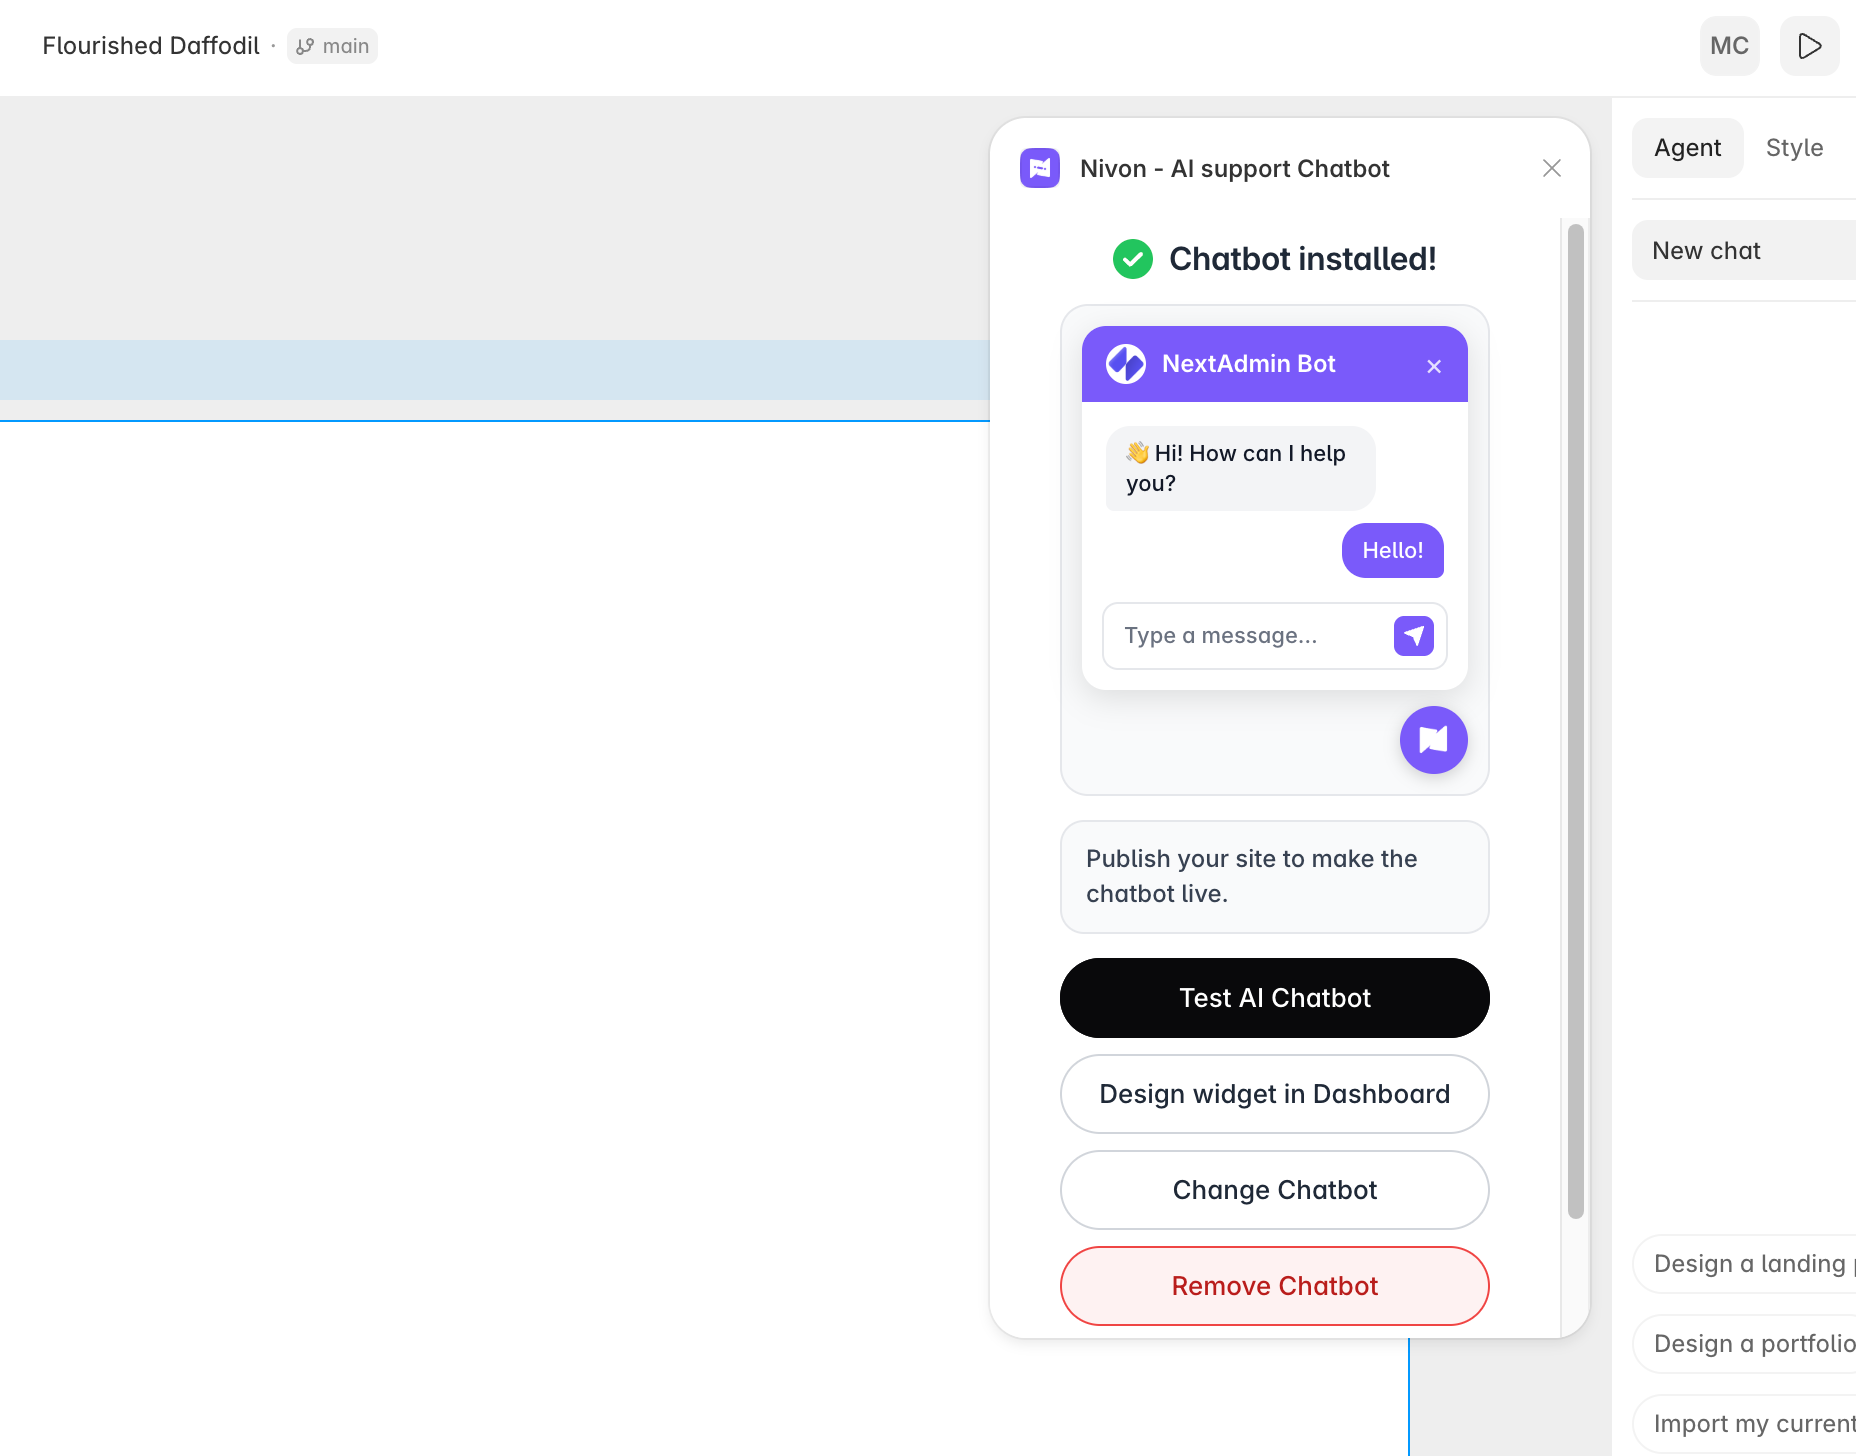
The plugin shows Chatbot installed! with a preview of your widget. Click Publish in Framer to make the chatbot live. You won't see the widget on the canvas or in Preview, so check your published site.
The plugin also gives you a few options:
- Test AI Chatbot: send a few messages and check the answers.
- Design widget in Dashboard: change how the widget looks in Nivon.
- Change Chatbot: switch this site to a different chatbot.
- Remove Chatbot: take the chatbot off this site.
After you change or remove the chatbot, publish again so your live site gets the update.
Step 6: Test the chatbot
Open your published site in a new browser tab, open the chat widget and send a test message. Check that the right chatbot replies.
Can I add Nivon to Framer with code instead?
Yes. If you prefer to paste the script yourself, you can add the HTML embed code to Framer's Custom Code. Use the plugin or the code, not both, so the widget doesn't load twice.
- Log in to the Nivon dashboard, open your agent and go to the Integration tab. Under Add the code manually, select HTML and copy the code.
- In Framer, open Site Settings, go to the General tab and scroll down to Custom Code.
- Paste the code into End of <body> tag and click Save.
- Publish your site.
The code looks like this. Paste the version from your Integration tab rather than this example, so your own published key and chatbot ID are in it.
<script
  src="https://assets.nivon.ai/agent/widget.min.js"
  data-publish-key="YOUR_PUBLISH_KEY"
  data-chatbot-id="YOUR_CHATBOT_ID"
  defer
></script>
Want the chat on one page only? Paste the code into that page's Custom Code settings instead of Site Settings.
What can you use a Framer chatbot for?
- Portfolios and agency sites: answer questions about services, process and availability while you're busy with client work.
- Startup and SaaS landing pages: answer pricing, feature and onboarding questions from your docs and help center.
- Launch and waitlist pages: handle visitor questions during a launch without setting up a support inbox.
What if the widget doesn't show up on Framer?
I can't see it in the editor
That's expected. The widget doesn't run on the Framer canvas or in Preview. Publish and check the live site.
It's missing on the live site
- Check that you clicked Connect Chatbot and the plugin showed Chatbot installed!
- Check that you published the site after connecting the chatbot.
- If you've added allowed domains in Nivon, add your Framer domain too, including the Framer subdomain if you test there.
- If you added the code manually, check that it's in Site Settings and that you pasted the complete script.
The codes don't match when I log in
Click Deny and close the tab. Then click Login in the plugin again to get a new code.
The wrong chatbot appears
Open the plugin, click Change Chatbot, pick the right one and publish again. If you added the code manually, copy it again from the right agent's Integration tab.
Good to know
- The widget loads on every page, so new pages and CMS items get the chatbot automatically.
- Model, tone, appearance and knowledge are managed in Nivon. Your Framer site picks up changes without you opening the plugin again.
- If you added the code manually and then regenerate your published key in Nivon, replace the code in Framer and publish again.
- When no allowed domain is listed, the widget loads on any site. Once you add one, add your Framer domain to the list as well.
- Installing somewhere else? See Installation Guides for HTML, React, Next.js, WordPress and Google Tag Manager.
Get started
Great customer support starts with Nivon's AI chatbot
Build an AI customer support chatbot that learns your product, answers customers instantly in your team's voice, and is there for them 24/7.
Start for free- Set up in minutes
- 95+ languages supported